Before You Break Ground: How to Prepare the Site for Your Home Addition

Before You Break Ground: How to Prepare the Site for Your Home Addition
A home addition can transform your living space—adding square footage, improving functionality, and increasing property value. But before the contractors arrive and the excavator starts digging, there are several crucial steps to take. Preparing the site properly isn’t just about design and materials; it’s about ensuring the ground beneath your new structure is ready to support it. Here’s a guide to help you get your site ready for a smooth and successful build.
Start with Planning and Permits
Before any dirt is moved, make sure you have the proper approvals in place. Most home additions require a building permit from your local building department. The permitting process ensures your project complies with zoning laws, setback requirements, and building codes. Depending on where you live, you may also need approval from a homeowners’ association or historic district commission.
It’s wise to involve an architect or structural engineer early in the process. They can help with design plans, load calculations, and communication with local authorities. Be sure to review your property’s zoning map and any neighborhood covenants to avoid costly surprises later.
Once your permits are approved, you can move on to preparing the site itself.
Assess Soil and Site Conditions
The stability of your addition depends on the ground it sits on. A soil test, or geotechnical investigation, is a smart investment. It determines the type and bearing capacity of your soil and identifies potential issues like poor drainage, expansive clay, or high groundwater levels.
If the soil is weak or unstable, your engineer may recommend special foundation solutions such as deeper footings, piers, or additional drainage. Addressing these issues now can prevent foundation cracks and settling problems down the road.
Clear and Prepare the Site
With your plans and soil data in hand, it’s time to clear the area where the addition will go. Remove vegetation, old patios, sheds, or any structures that stand in the way. The site should be level and accessible for construction equipment.
You may need to create temporary access routes for trucks and material deliveries. Protect existing landscaping and structures by marking off areas that should remain untouched. It’s also courteous to inform your neighbors about the upcoming work, as construction can bring noise, dust, and traffic.
Marking and Layout
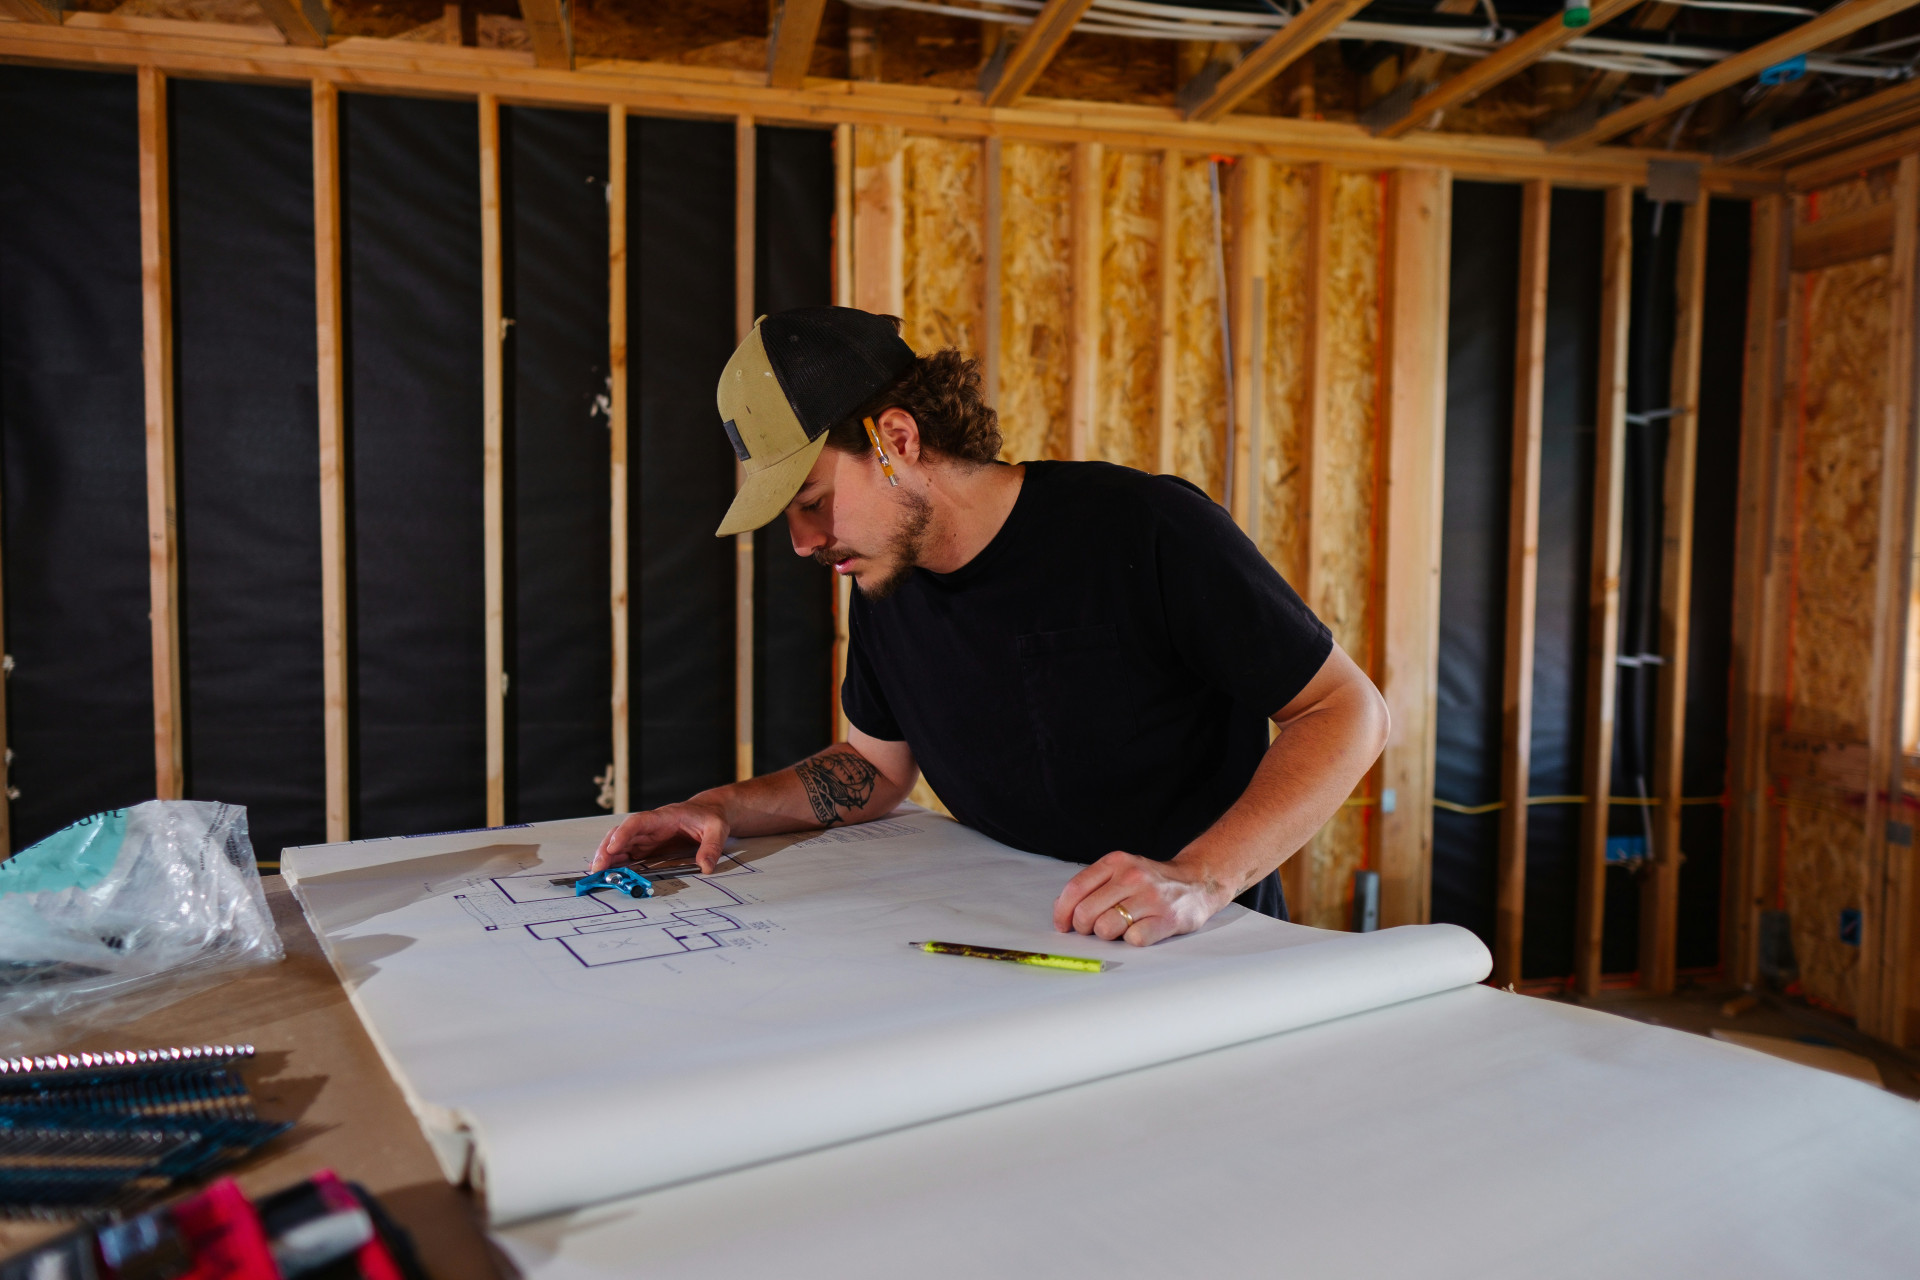
Before excavation begins, the exact footprint of your addition must be marked on the ground. This process, called staking or layout, is typically done by a surveyor or contractor using the approved building plans. Accurate layout ensures the new foundation aligns correctly with the existing house and meets setback requirements.
Even small measurement errors can lead to major issues later, so double-check all dimensions and elevations before digging begins.
Utilities and Drainage
Before you dig, call 811—the national “Call Before You Dig” number—to have underground utilities marked. This free service helps you avoid hitting gas, water, electric, or communication lines, which can be dangerous and expensive to repair.
Consider how your addition will affect existing plumbing, electrical, and HVAC systems. You may need to reroute or upgrade utility lines. It’s also a good time to plan for proper drainage around the new foundation. Installing perimeter drains or grading the soil to direct water away from the structure will help prevent moisture problems later.
Excavation and Foundation Work
Once the site is cleared and marked, excavation can begin. The topsoil is removed, and trenches or pits are dug to the required depth—typically below the frost line, which varies by region. The bottom of the excavation should be level and compacted to provide a stable base.
Depending on your soil conditions, a layer of gravel or compacted fill may be added before pouring the concrete. The foundation should be reinforced with steel rebar and tied securely to the existing structure to prevent movement or cracking.
Moisture Control and Insulation
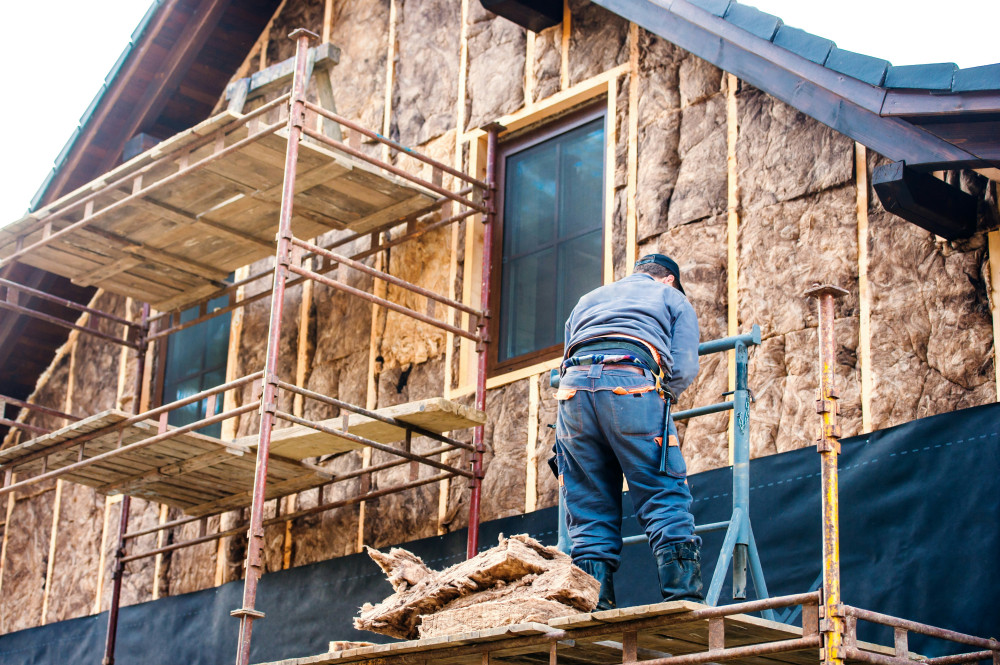
A strong foundation also needs protection from moisture. Install a vapor barrier or waterproof membrane between the foundation and the framing to prevent water intrusion. Proper insulation under the slab or around the foundation walls will help maintain energy efficiency and prevent cold spots.
If you plan to include radiant floor heating, this is the stage to install the tubing before the concrete is poured.
Læs også:
Documentation and Quality Checks
As construction progresses, keep detailed records of your work. Save copies of permits, inspection reports, and any changes to the original plans. Take photos of the foundation and utility lines before they’re covered—these can be invaluable for future maintenance or resale.
Consider hiring a construction inspector or project manager to oversee the work and ensure it meets code and design specifications.
A Solid Start for a Successful Build
Preparing your site thoroughly takes time and attention to detail, but it’s one of the best investments you can make in your home addition. A well-prepared site means fewer delays, fewer surprises, and a stronger, longer-lasting structure. Once the groundwork is done right, you can move forward with confidence as your new space begins to take shape.
Læs også: